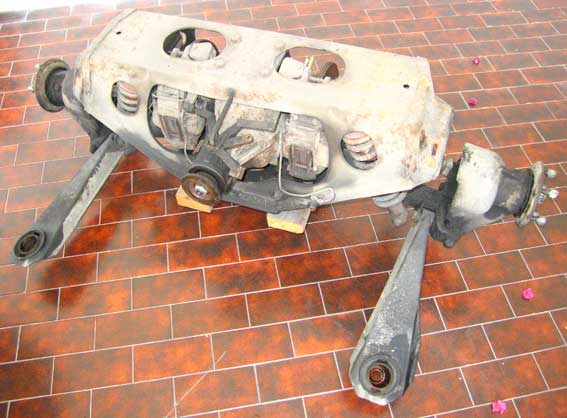
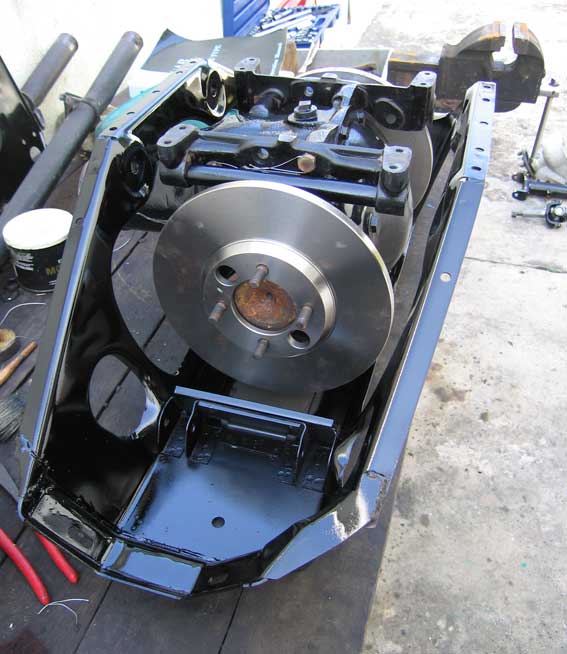
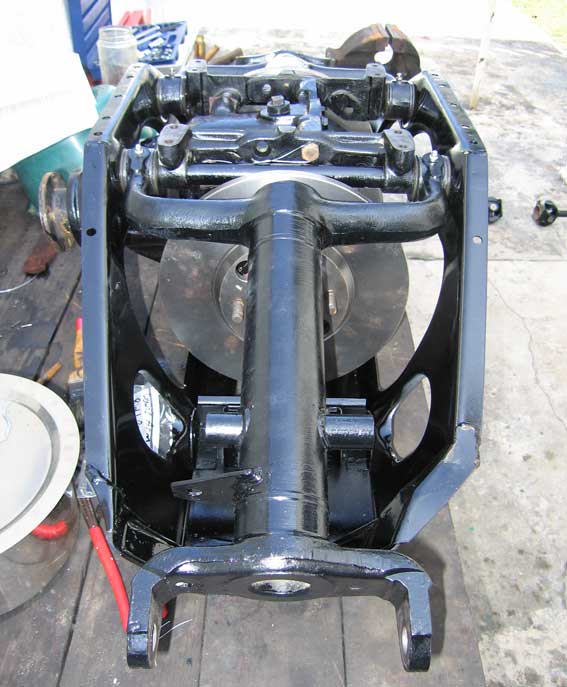
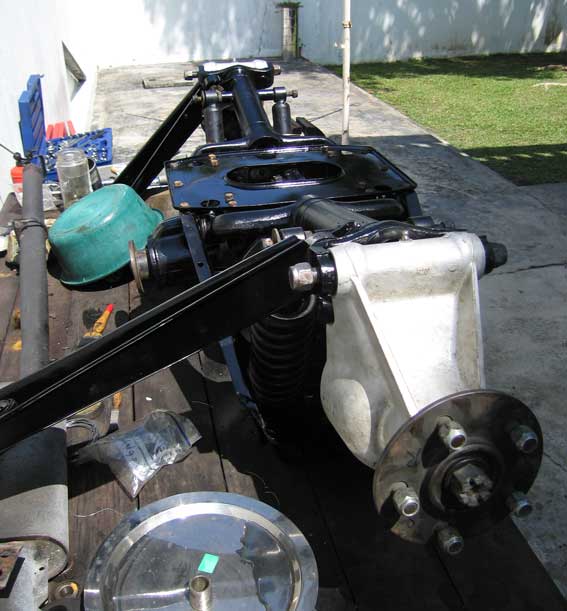
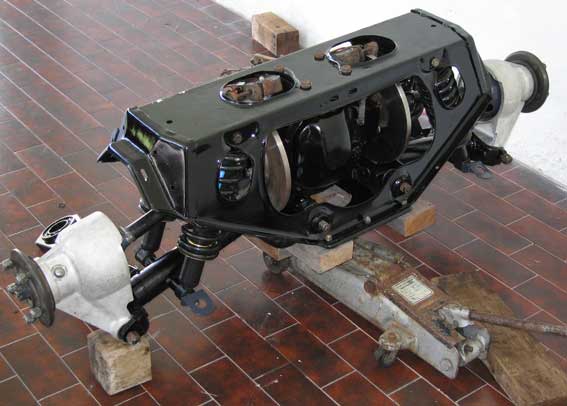
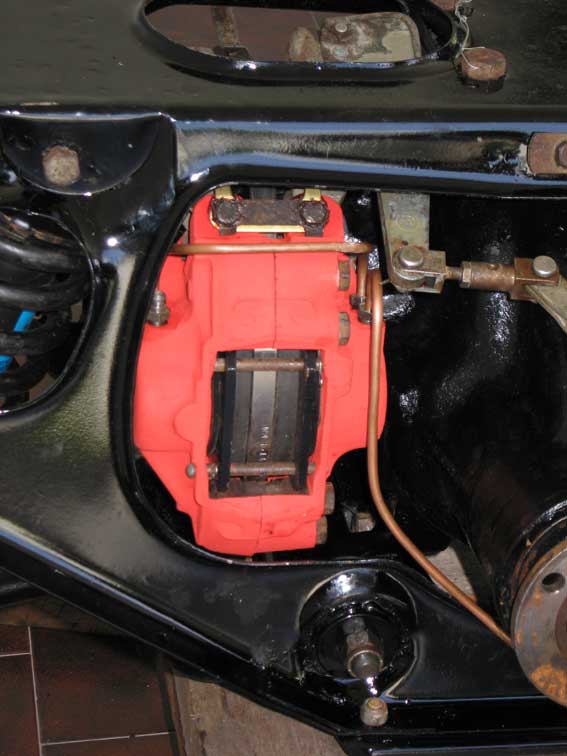
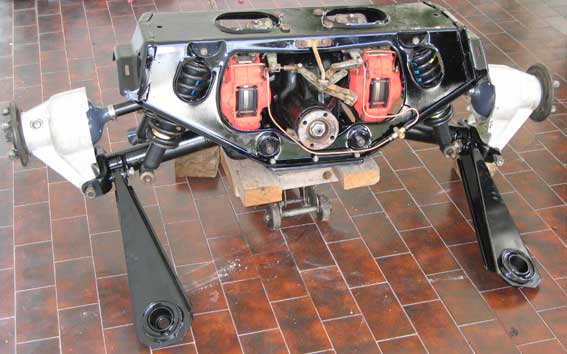
Rear Suspension Rebuild
|


Comments
| Rear Suspension RebuildBrowser|15 Mar : 17:24 | |
| Guest Reply to this | This will be most helpful as i've been planning this event for months now(accumulating parts). Soon,soon. |
| Rear Suspension Rebuildsammiu#inbox.re|22 Apr : 18:26 | |
| Guest Reply to this | SUPER THANK YUO. MOST USEFUL ARTICLES! |
| Rear Suspension RebuildhASHIM|18 Nov : 02:02 | |
| Guest Reply to this | Is there a special technique to mount the rear subframe on a series 3 XKE. Do I attaché the mounts to the subframe or the body first. Having no luck lining it up. |
Submit comment
